
Shereen at Waiting for Him hosts Sew Crafty Friday.
My cross-stitch clock has been put on temporary suspension. I have committed to a few other projects that take precedence one of which is a quilled frame for the Pay It Forward that I posted a bit ago. I thought I would share how I go about designing and creating my one of a kind quilled frames. I will be using my current project for an example, so Mom of Ned, you may want to skip this post.
The first thing I always do is to learn what theme or colors the person(s) I am making it for favors. For framed wedding invitations I try to coordinate with the bride’s chosen colors or the colors in the invitation. Then I set to work on the design. We corresponded and she told me her color and theme preferences and I then went onto the net for ideas. This project will have a bit of a country kitchen theme, which I have never done before. I searched all the quilling sites I could find, and then went to All Posters for inspiration. Then I was ready to begin.
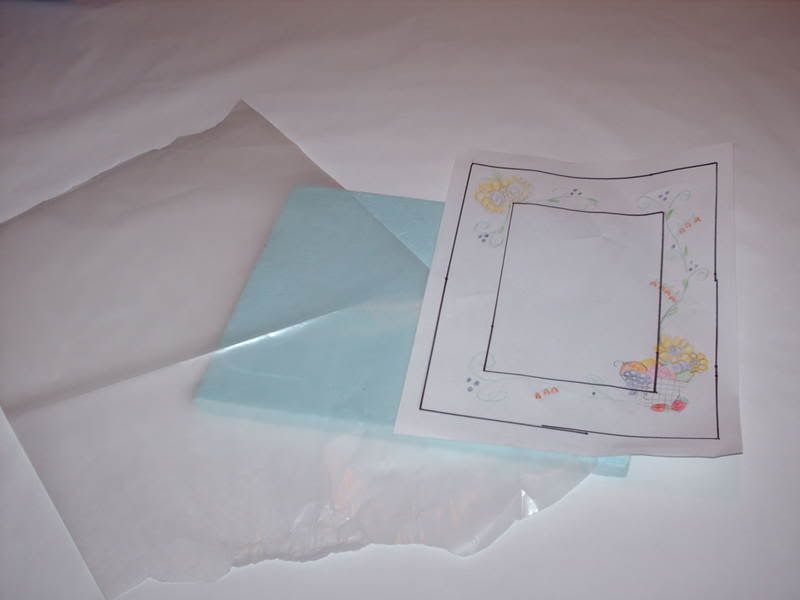
After having an idea in my head, I set to work. The first thing I do is trace the mat that the quilling will be attached to onto a piece of paper.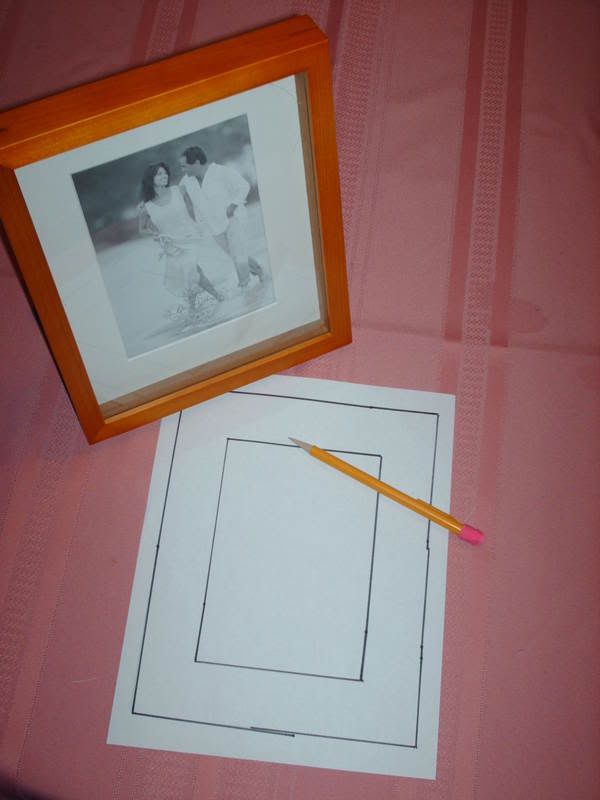
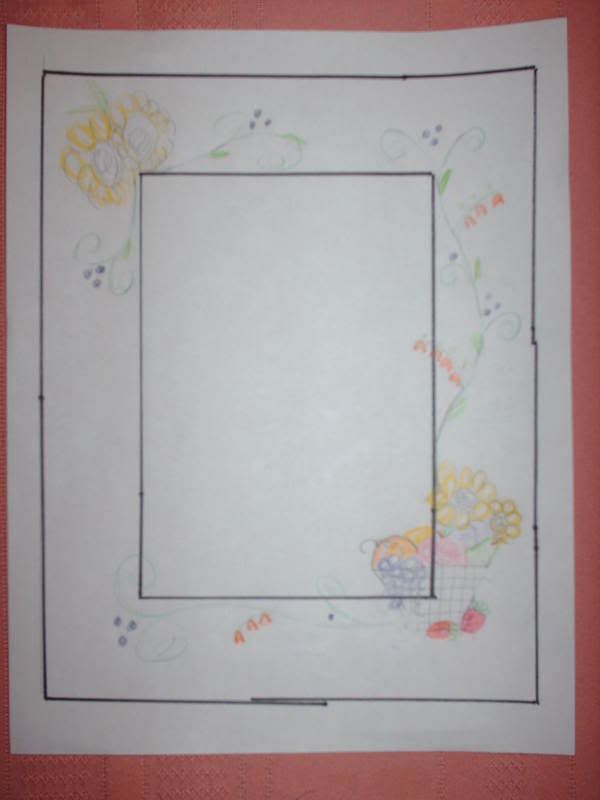
After a bit of doodling on scratch paper, using pictures of artwork and colored pencils, I put my design onto my template.
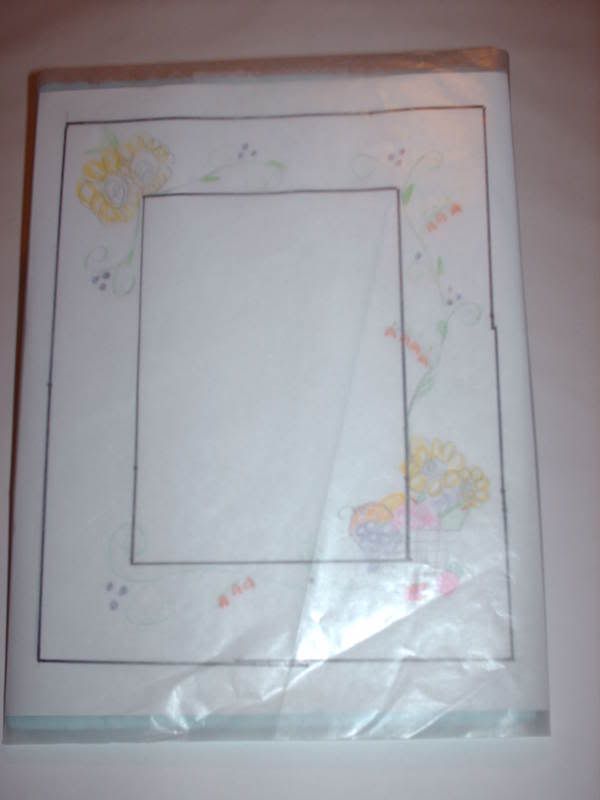
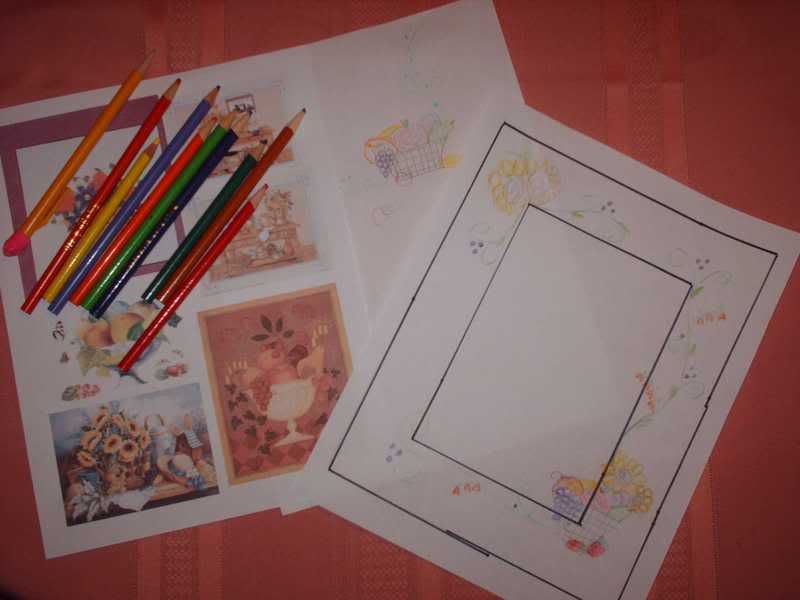 I have very little drawing skills, and the artwork is crude, but I know what I mean by the sketching.
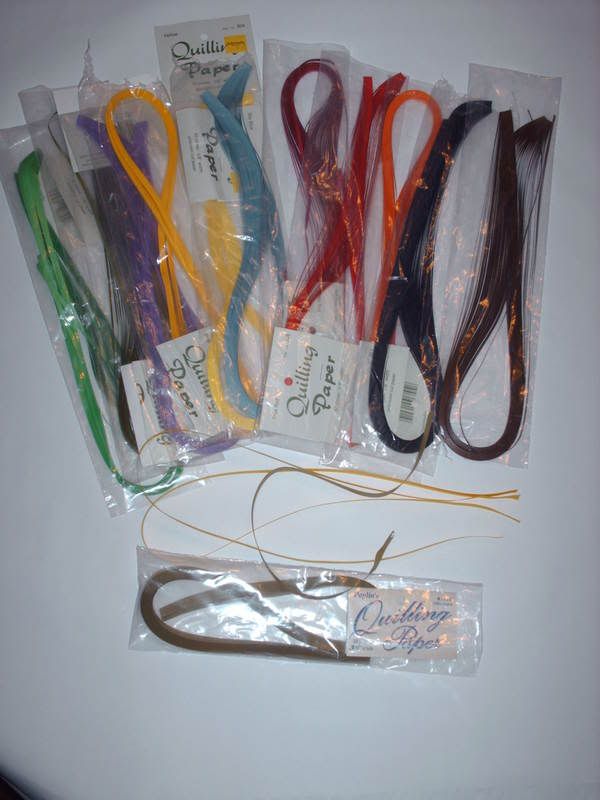
Once the design is roughly planned out, I gather my supplies. I chose the quilling papers from my supply,
 and gather my tools together.
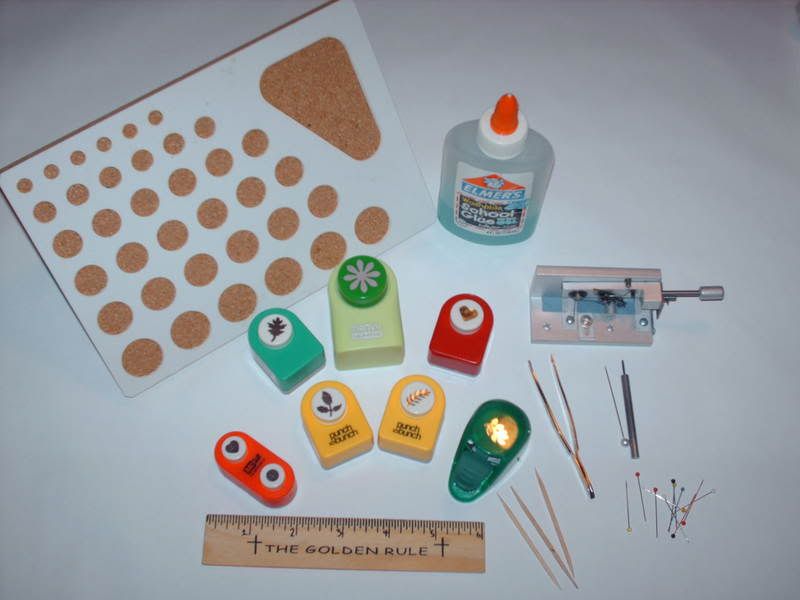 I use a ruler for measuring the length of the papers and the quill board and pins to hold the shape of the rolls. I have various punches to make leaves and other designs that I may or may not use, a fringing tool, a hatpin and special slotted quilling tool to create the pieces. I find Elmer’s no run gel glue to work wonderfully for gluing, which I apply with toothpicks. I use tweezers to place the finished rolls where I want them. Just a note: I don’t use scissors anymore to cut my paper because I find that tearing it hides the edges better. That is my preference. And so I am ready to begin.
Then I begin the project by taping my design to a piece of foam core board cut 9” by 12” and covering it with wax paper. The wax paper is great because the glue doesn’t stick to it.
 I will be working on this over the weekend and if all goes well should have it done and out in the mail by next week. I will continue to take pictures during the process to share next week. I taught myself some 15 years ago when someone gave me a kit they found at a tag sale and I have been hooked ever since. If you are interested in learning how to quill there are some great sites to visit that could help you.
Quilling with Wit Basic Shapes
Quilling tips for Scrapbookers


I have a friend who does quilling, but I've never tried it. I bet your frame will be gorgeous. Can't wait to see it done!
I had no idea quilling was so involved! That is looking good!
Blessings,
Laurie
It's going to be beautiful when it's done. I've done quilling before and it's fun. You made me want to pull my materials back out and try my hand at it again.
Terri