 Our local Dollar Store has a pretty nice selection of cards 2 for a $1 so back in February I went in and picked up all the cards I would need for the year for all the family and friends that I usually send them out to. I had originally planned to put them into my home manager binder sorted by month and was even lucky enough to pick up on the clearance rack at the local department store some colorful, large notebook pencil keepers for only 75 cents each that were big enough to store them. But I found that adding those to the binder really made it super bulky (as if it wasn’t bulky enough already), so I set off in a different direction.
(Rabbit Trail-You may notice that I often start out with one game plan, but quite often switch gears if something better presents itself. Trying to remain flexible keeps me from getting frustrated and fanatical when things don’t go the way I want them and the alternative that seems to manifest often seems to work out better than the original game plan. I firmly believe that if we leave ourselves open to the possibilities that the Lord gives us, everything works out for good. Romans 8:28)
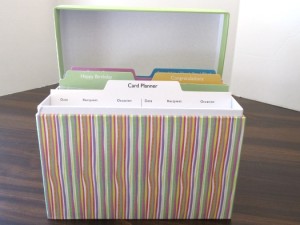
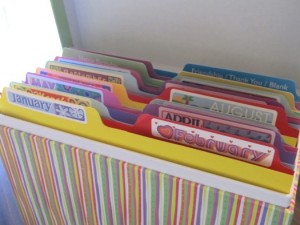
I started looking around for a box to set up to keep birthday, anniversary and other special occasion cards organized. Mostly what I came across was either too big or too shallow for my purposes. I figured I was going to have to wait until I ran across some old box and would just re-purpose it with some pretty decoupage. But what a blessing it was when we were shopping for something else that I stumbled upon this:
Not only was this beauty exactly what I was thinking of but it also came with 25 very nice generic birthday, congratulation, and other occasion cards all for under $10.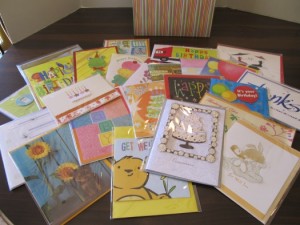
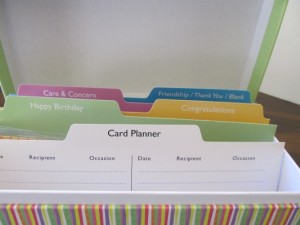
It came with a few divider cards:
But I then set out to make the minor improvement to make this a perfect working system.
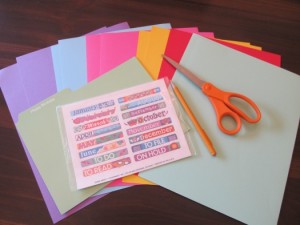
I gathered up some colored card stock I had on hand, some stickers of the months that I got years ago from Current Magazine for free, scissors, and a pencil.
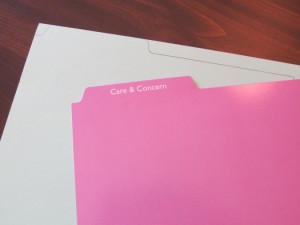
I used one of the dividers that came with the box as a template and traced it onto each piece of card stock.
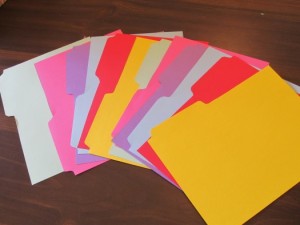
I cut them all out and then arranged them alternating the side the tab was on.
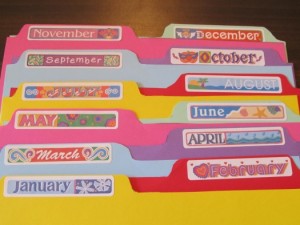
Then I just added the month stickers.
Now all the cards that I bought for specific people are neatly filed in the month that they will need to be mailed. I wrote the recipient’s name on the envelope of each card and put their event date in the upper corner where the stamp will go. I did not seal the cards just in case if during the year I wanted to add a timely message or something extra. I also did not address the envelope in case they moved before I needed to mail out the card. I have a master list stored in the front of the box with not only the who, what, and when information, but I also included the mailing address for each person written in pencil for easy changes if the need arises. This way when next year comes around, everything will be all in one place to set up the file again. The last thing I did was to add a reminder note to my year planning calendar a week before each event to mail out their card. Doesn’t do much good to have a system set up and to forget to send out the card.
You can download the Birthday and Anniversary recording forms that I made to use for this project HERE.
Do you have a system for remembering birthdays and other special occasions? I would love to hear what you do.



Ginny~ I am really enjoying your blog posts on organization! I’m organized to a fault with my paperwork; but other household things, not so much. Old houses don’t have near enough storage – and your tips have been so fun to read! I actually have a card organizer box similar to yours that I got on DEEP clearance years ago. I am HORRIBLE at sending cards, but would love to be better at it. I may need to use your idea. 🙂
This is amazing. Where did you get the box? I could definately use something like this.