

Due to the drama of the past few days, I didn’t get to work on any of the projects that I was planning, but as promised I will share the pictures of my finished quilled project. (Just a note: These are some of the rescued pictures. Praising God for every minute!)
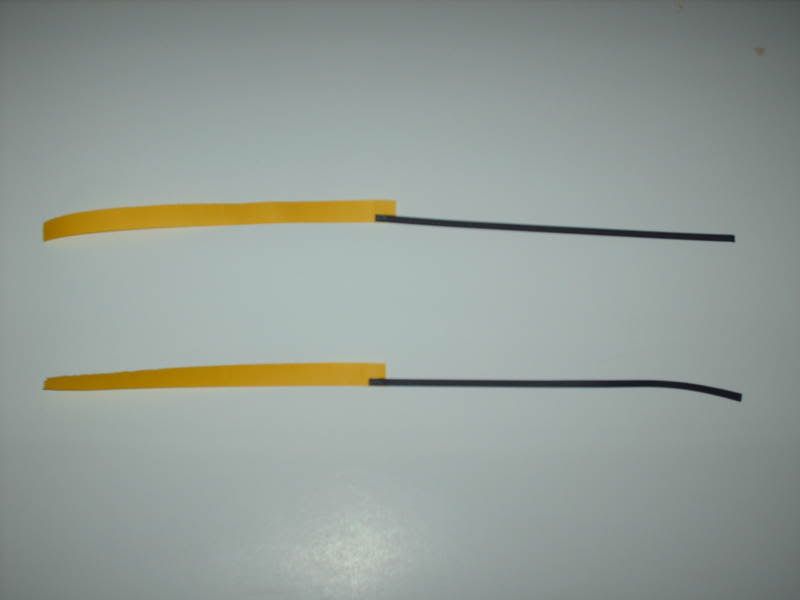
For the fringed sunflowers I glued a yellow 6” fringed strip of ¾” wide paper, and a black 1/8” strip.
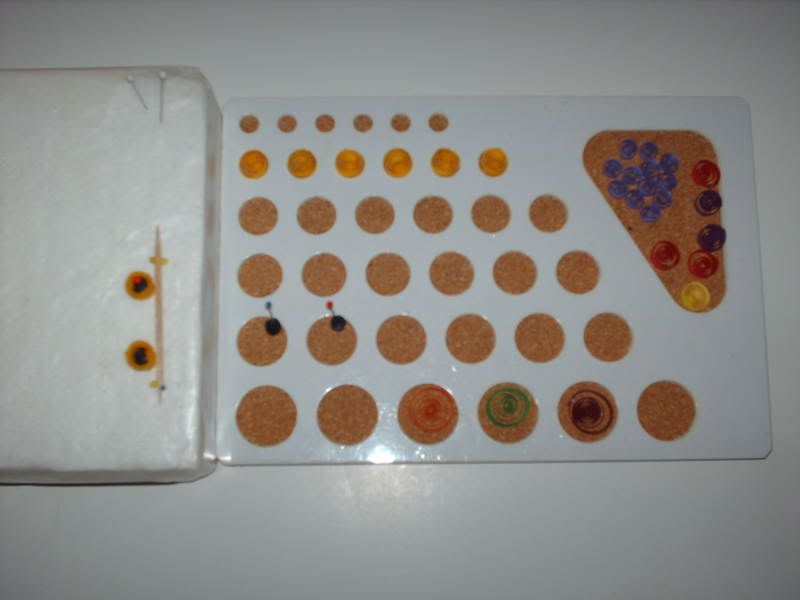
Here are some of the quilled circles. The board is used to let the quilled pieces relax and then I glue the ends and hold them with a pin. Each quilled piece is made from 1/8” wide strips of various lengths depending on what size I want. Some are loose quills and others are tight rolls.
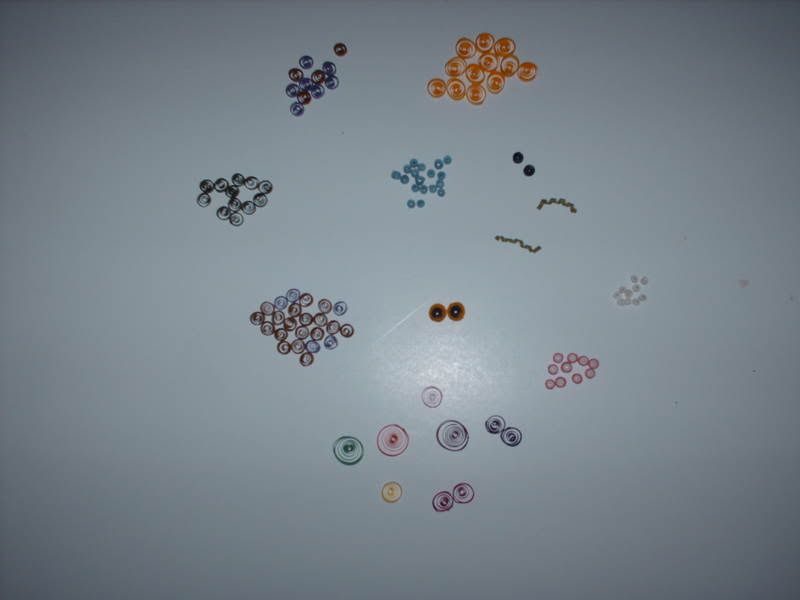
Here are all the finished quilled pieces waiting to be shaped and assembled.
I use a piece of packing Styrofoam covered with wax paper to make my designs. I use pins and toothpicks to help keep the pieces in place until the glue dries.
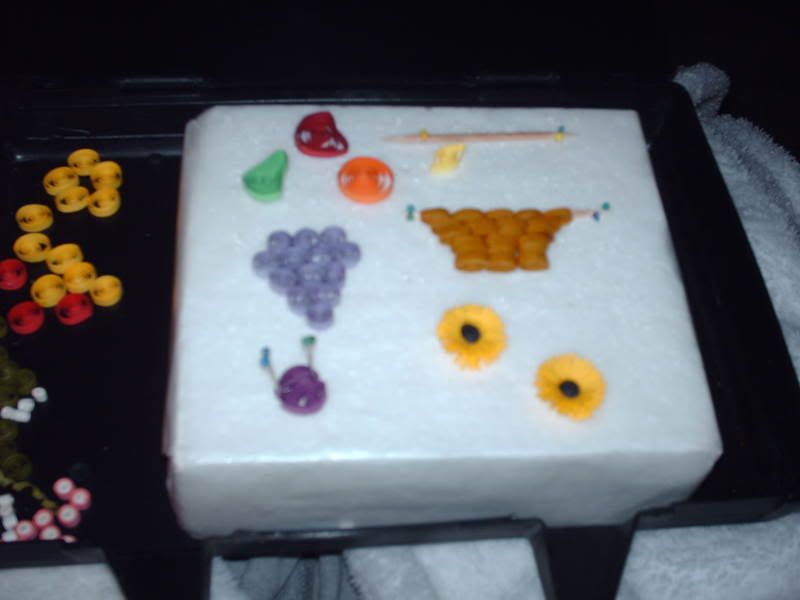
These are most of my finished pieces waiting for placement. After making the grapes, I realized that they were too big for the design, so I started over on them.

I used my design template that I had put on the wax paper covered foam core board and began assembly, again using pins to hold things in place.

After I was satisfied with the placement of the main pieces I began to glue everything to the mat.
When the main pieces were in place I added the green vines and the small details.
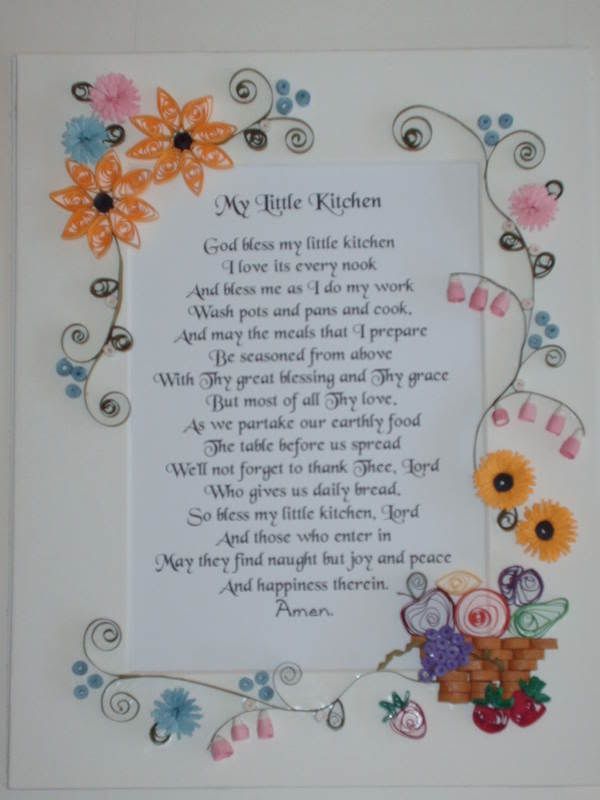
For this project I found this kitchen prayer and printed it out.
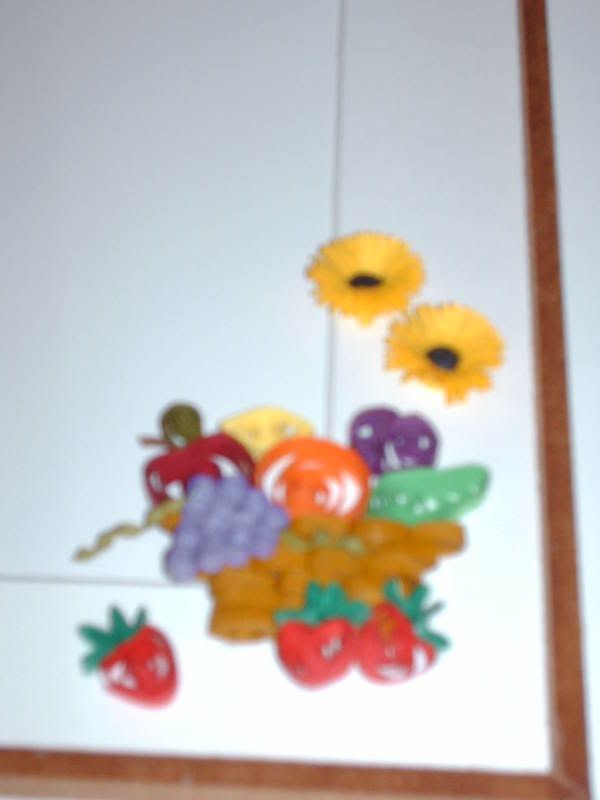
Here is a close up of the bottom.

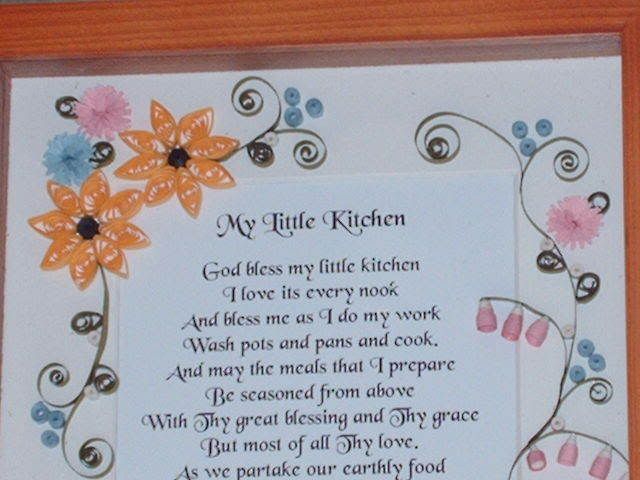
Here is a close up of the top.
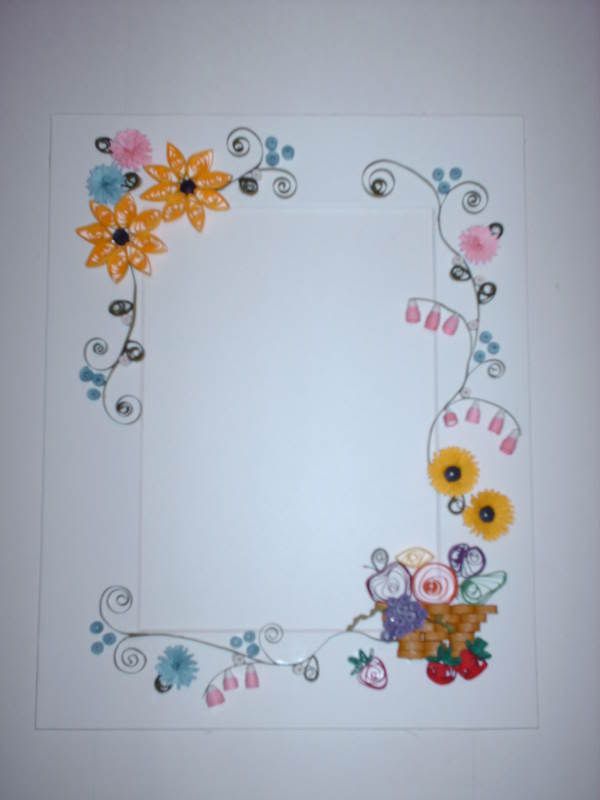
The finished project.
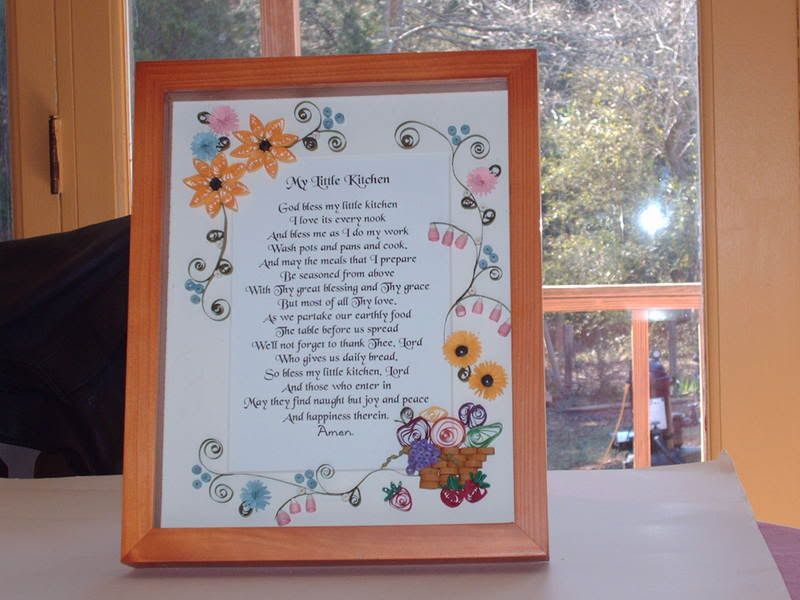
I am really happy with the finished project and may do this design again for my own kitchen.


16 Responses to Sew Crafty Friday-Creating a Quilled Frame-Part 2